WINDOWS


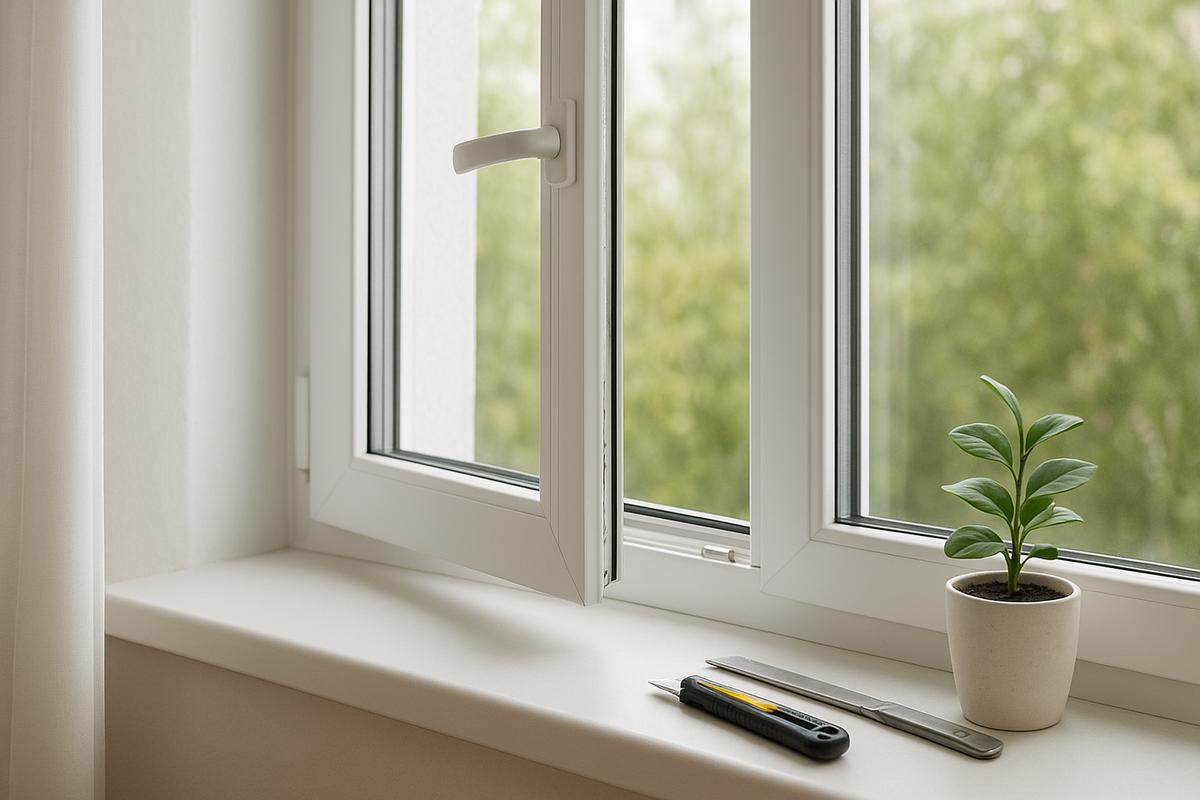
Date added: 05.10.26
Can seals be replaced independently in series 119
Can seals be replaced independently in series 119
Summary
- In most cases, window seals in buildings of series 119 can be replaced by a competent DIYer.
- Basic tools are required: screwdriver, utility knife, clean cloth, silicone sealant if needed.
- Correctly matching the seal profile and the insertion shank size is crucial.
- Complex situations (damaged frame, worn insertion channel, faulty hardware) need a professional.
- After replacement, check sash compression, drafts and ventilation functions.
- Regular replacement every 5–10 years helps maintain insulation and reduce noise.
Introduction
Series 119 refers to a common type of apartment blocks where plastic windows of various manufacturers are installed. Over time, seals (gaskets) lose elasticity, crack or dry out, causing drafts, noise and heat loss. Replacing the seal is an inexpensive and often straightforward repair, but older frames and non-standard profiles introduce nuances.
When you can do it yourself
- The seal has visibly lost elasticity but the insertion channel remains intact and the hardware operates smoothly.
- You have a standard PVC profile and can unhinge the sash for easier access.
- You are ready to follow step-by-step instructions and work carefully with tools.
Avoid DIY replacement when:
- The insertion channel is torn or deformed.
- The frame has cracks or significant settlement.
- The glazing unit is loose or the sash does not close properly even after adjustment.
Tools and materials needed
- Screwdrivers set and a thin flat pry tool.
- Sharp utility knife.
- Tape measure, ruler, marker.
- New seal of the correct profile (commonly EPDM for windows).
- Silicone sealant for joints if necessary.
- Solvent and clean cloth to remove old adhesive and dirt.
How to choose the right seal
- Remove a sample of the old seal and measure its cross-section and the shank width.
- Identify the material: EPDM is black, elastic and long-lasting; TPE is similar but less ozone-resistant.
- Buy extra length (around 10% extra for corners and waste).
- If unsure, photograph the channel and consult a supplier.
Step-by-step replacement guide
-
Preparation
- Open the sash and, if helpful, detach it from the hinges.
- Remove the old seal carefully, cutting it where necessary.
- Clean the channel from dirt and adhesive residues, wipe with solvent and dry.
-
Fitting
- Lay the new seal along the channel without forcing it to check profile fit.
- Cut pieces with a slight allowance for corners.
-
Installation
- Insert the sealing shank into the channel, pressing progressively around the frame. Use small corner cuts if required by the profile.
- For neat corners, make small incisions on the inner side or follow manufacturer recommendations for corner joints.
-
Finishing
- Trim excess ends and seal joints with silicone if needed.
- Rehang the sash, check closing and compression, adjust hardware if required.
Testing the result
- Draft test: use a candle or thin paper near joints to detect air flow.
- Check for sound and temperature comfort after 24 hours.
- If drafts persist, check compression uniformity and seal integrity.
Common mistakes
- Choosing the wrong profile leading to poor compression.
- Installing over a dirty channel causing rapid wear.
- Poor corner treatment resulting in leaks.
- Overstretching the seal during installation causing deformation.
When to call a professional
- If sash closing shows twist or excessive play.
- If the insertion channel is damaged or melted.
- For systemic issues with hardware or glazing units.
FAQ
How long does it take to replace a seal on one window?
About 1–2 hours depending on corner complexity and whether the sash must be removed.
How often should seals be replaced?
Typically every 5–10 years depending on climate and material quality.
Can I use a universal seal?
Yes, but ensure the shank width and profile suit the existing channel; universals may fit less snugly on older channels.
EPDM or TPE — which is better?
EPDM is generally preferred for durability and resistance to ozone and temperature changes.
Should I lubricate the seal after installation?
Lubrication is generally unnecessary for the seal itself. Lubricate moving hardware separately with recommended products.
If in doubt, photograph the frame and channel and consult a specialist — a short expert check can prevent repeated repairs and save money over time.
DK-Logi blog topics and categories
Useful articles about PVC windows, blinds, and practical advice for your home.



GET A FREE WINDOW COST ESTIMATE!
Leave a request, and we will contact you to arrange a free measurement and provide a full cost estimate.
Your name
Your phone number *
Your e-mail
File
Choose file
Comment (e.g., window sizes, quantity, preferred profiles)

2025 © All rights reserved